5
Changed
- Performance Improvements.
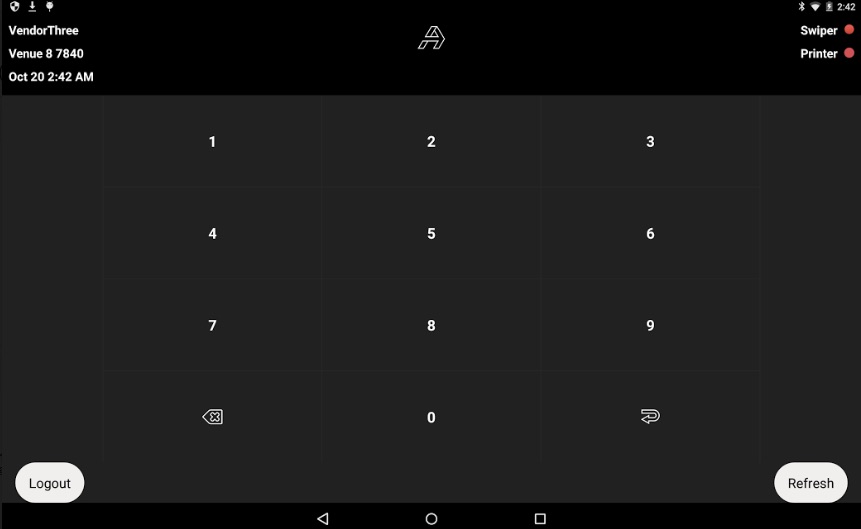
- PIN display redesigned and aligned with iOS view. It means that when using Shared Accounts on Activate, the first screen after user logs in is the PIN board. It is a fixed change and cannot be adjusted using Manage Permissions or other settings.
Fixed
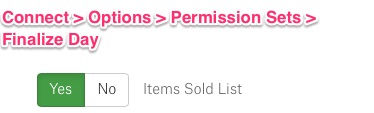
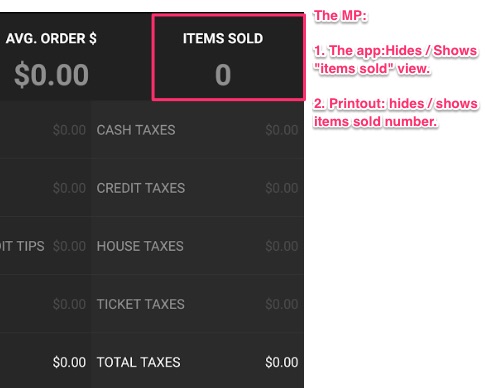
- One of the permission sets – Items Sold List has been improved in case of printing. The permission (set to YES) hides the button from Finalize Day view, and also hides Sold Items on printouts.
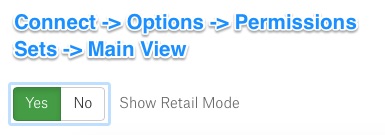
The setting can be found here:
4
New
1. Retail Mode
Basic info
Retail Mode is a brand new Activate Android interface for items view. Items are no longer displayed in a form of a grid list with prices and images. Instead, there’s a new search box. The search box allows to type in the name or barcode and find the desired item. There’s also possibility to scan a barcode. Retail Mode is a blessing when there’re so many items that it takes much time to browse them all.
Have a look at the below screen to see the new interface.

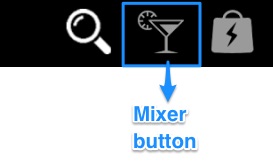
The button from standard UI that was not removed is shown below
Of course, Retail Mode is optional. You can enable/disable the new interface on Connect, reaching Permission Sets. By default, “Show Retail Mode” is set to No.
Adding items to the cart
Follow the below steps to add an item to order. Say, I want to add  item to my order.
Type “cheeseburger” or “cheese” or “burger” in the search box. You can search for the items in “All” categories, or narrow down the results by tapping a category first, e.g, “Food” or/and subcategory, e.g., “Fast Food”.

If the item has “barcode” set, it can also be typed in or scanned. There’s no need to tap the search box to scan an item.
a) successful scan (using USB barcode reader) -> an item matches it -> it is automatically added to the cart.
b) unsuccessful scan -> there are no matches -> the error message “No Matching Barcodes” is displayed on screen.
** Just to be clear, Barcodes need to be set first on Connect -> Items -> Basic Information. (or imported as items list via Connect).
 If there is only one cheeseburger item available, it is added to the cart immediately and then, some other items can be added or you can begin checkout.
*** If there’re more than one search results, they are shown on the list below the search box. Only items belonging to the same category are recognized as similar. 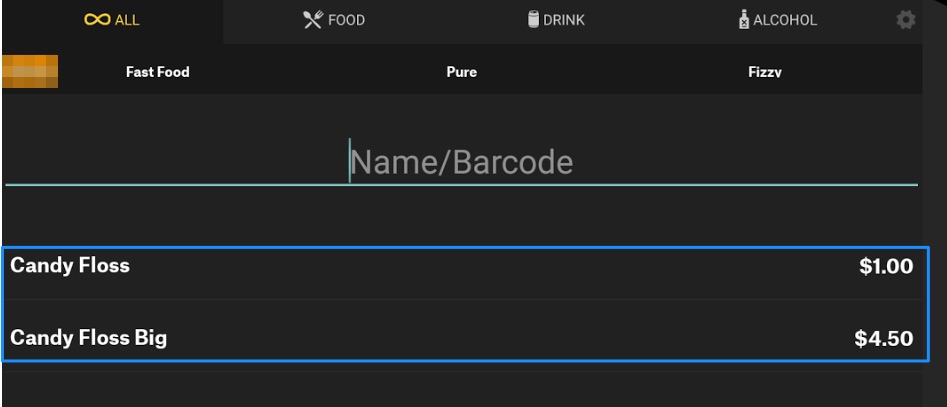
In this case, just tap the item (or items) you want to add to the cart.
If there’s no such item that you’re looking for, the below prompt shows up

 When you exit the search bar, and reach the left menu, e.g., Finalize Day and want to search for some items again, tap the magnifying glass icon in top right corner to start again.
Changed
- Performance updates.
3
New
- New function that makes it possible to turn off / turn on the EMV chip reader on the Ingenico devices. Go to Connect and reach Employee Role.
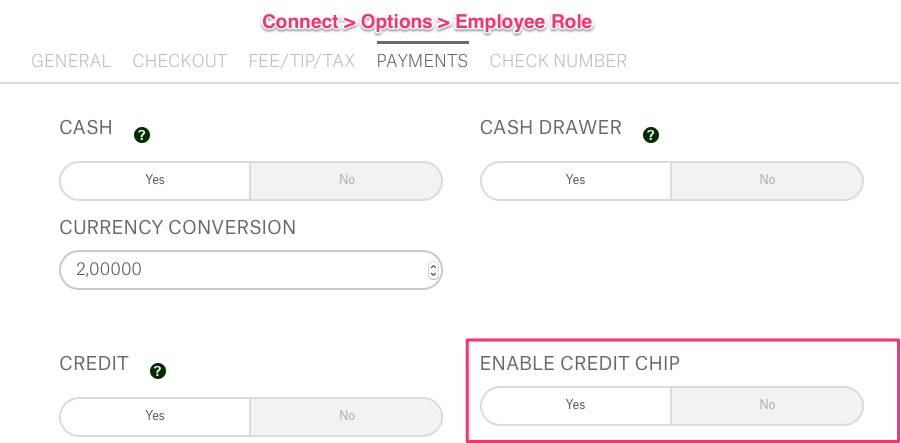 If you choose Enable Credit Chip “NO” :
– EMV transactions will not be supported anymore
– the chip reader on Ingenico (external device) does not light up and there’s no “Insert Card” alert on the terminal. And what will be the consequences on Connect? The idea is that if credit chip is disabled, Connect does not receive info on chip transactions if there are any in Offline or Declined tabs on Activate.
Changed
- Removing declined tip for REST mode. So far, it has not been possible to close out the transaction from Pending closed tab if there was a declined tip on that order. The reason for declined tip might be, e.g., insufficient funds on CC. We’ve amended that and now users are able to change the declined tip to $0.00 value and finalize the order so that it goes to Completed.To change the declined tip follow these steps:
a) create CC order, go to Pending closed tab
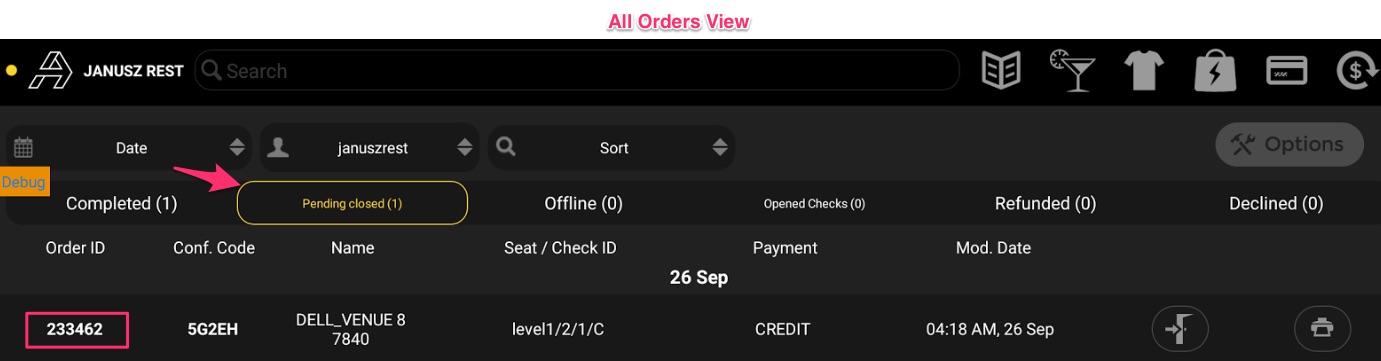
b) now, I want to add tip to 233462 order, but the tip value is too high for my CC funds so I receive this alert
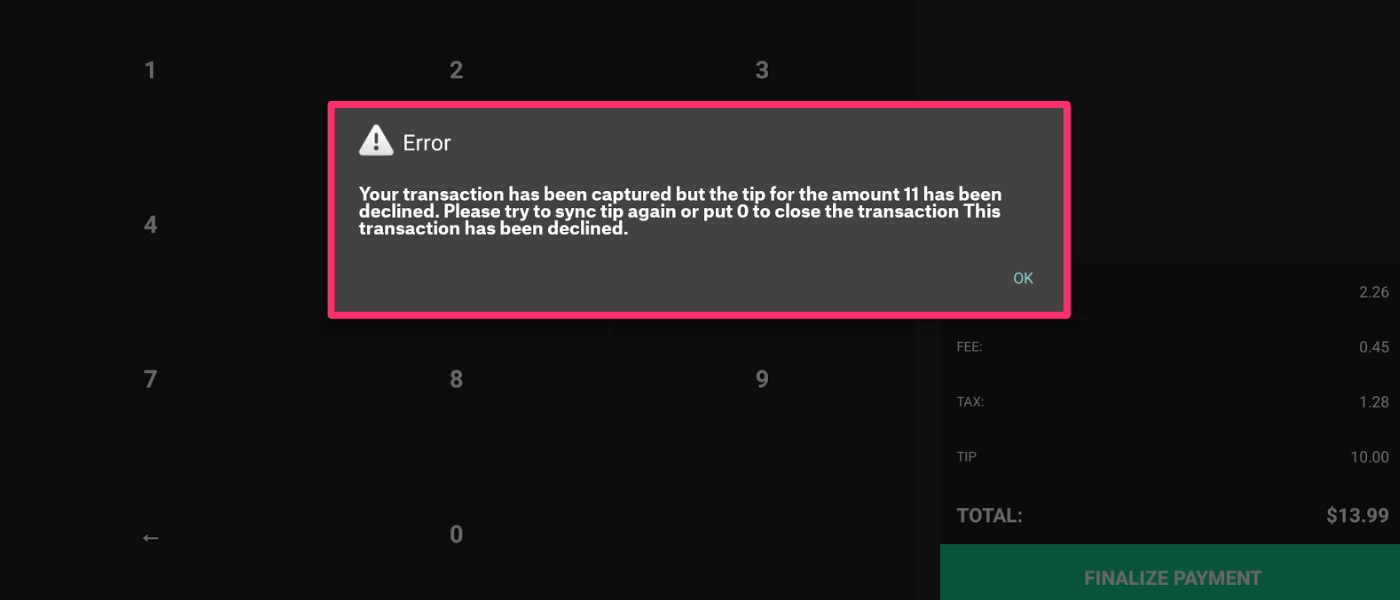 c) So, the transaction is declined. As the alert message suggests – put 0 to close the transaction. In other words – go again to Pending closed, tap Add Tip/Close Order, and change the tip value to $0.00.
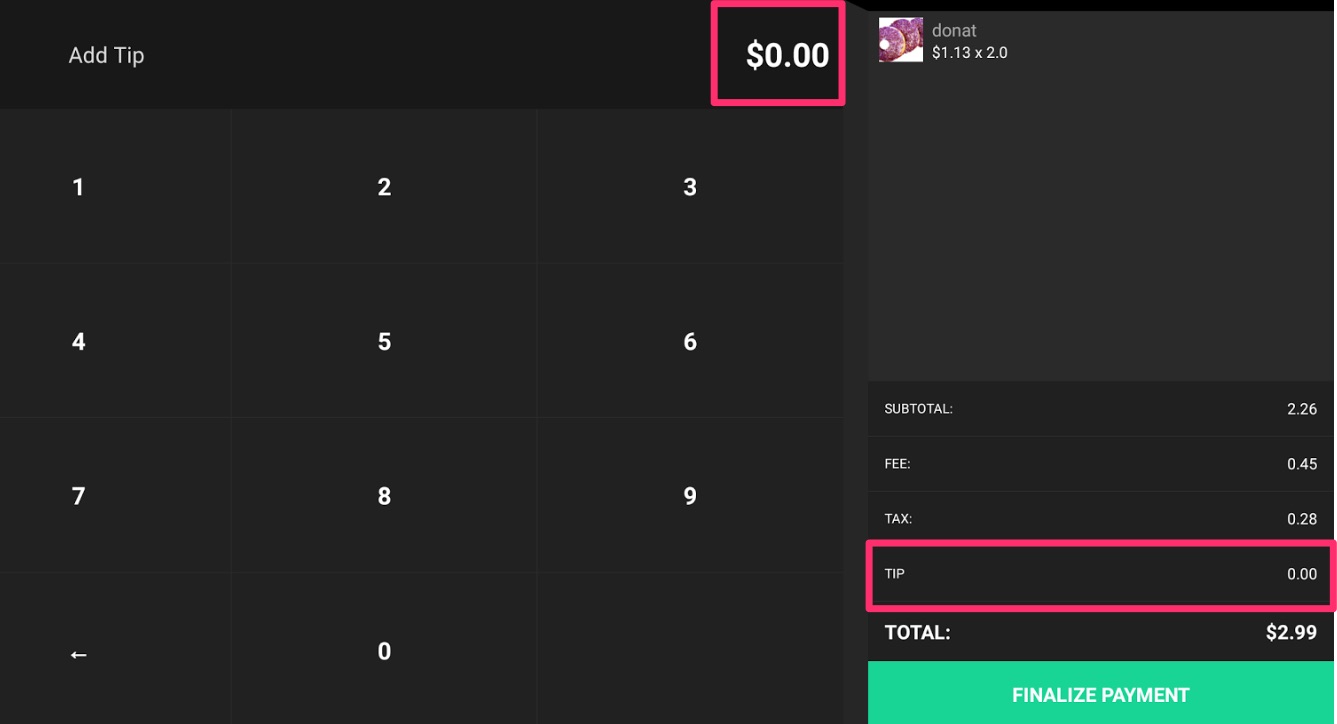 RESULT: Tip is accepted, the order goes to Completed.
Fixed
- Minor bug fixes.
2
Changed
- General performance improvements.
Fixed
- Elo devices crashes when rebooting.
- PayPoint tip line printing issues.
1
Changed
- Memory usage has been improved.
Fixed
- Crash fixes.
- Problems with duplicate transactions solved.
0
New
With the release of 2.8.7 version, we have some new stuff customized:
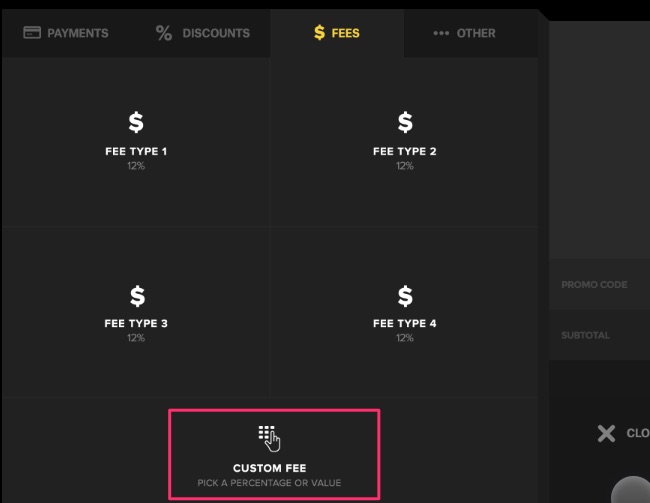
- First, there’s Open Fee function added. As the name suggests, this new feature enables to add an arbitrary amount of a fee on Activate. To reach it go to: Connect > Options > Custom Fees.
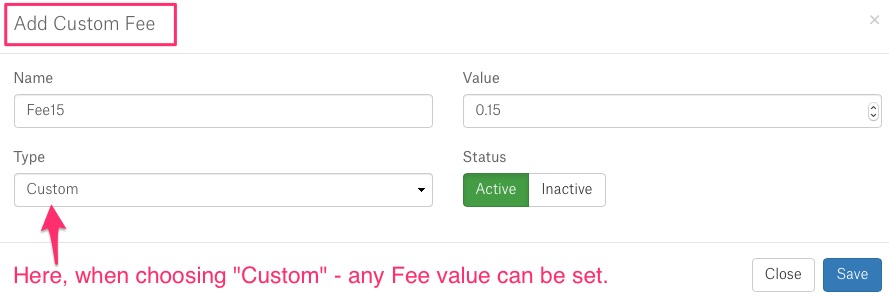
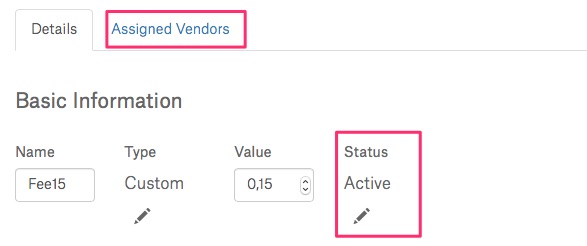
Then, your open fee is created, but to make it work – do not forget to change the status to Active and assign to a Vendor on Connect.
And below, if custom fee is enabled – the look on Activate
2. Open discount available. Similarly to Open (or Custom) Fee – it enables to add an arbitrary discount to a given item or to the whole order. Go to: Connect > Discounts and click “Create”.
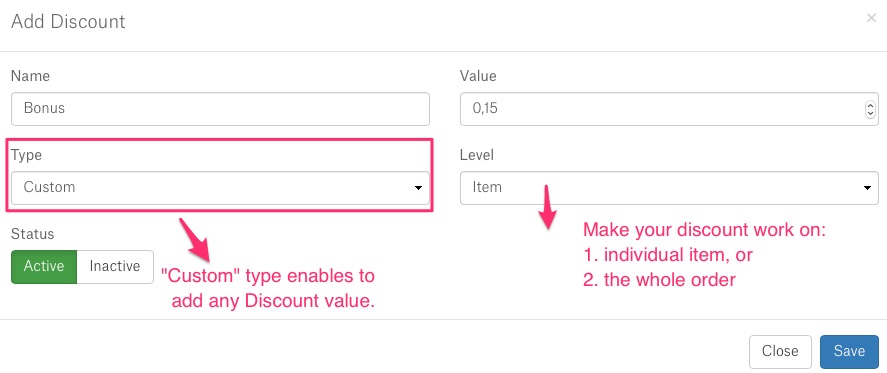
But – that’s not all. Now, a few more things need to be configured to make your discount work.
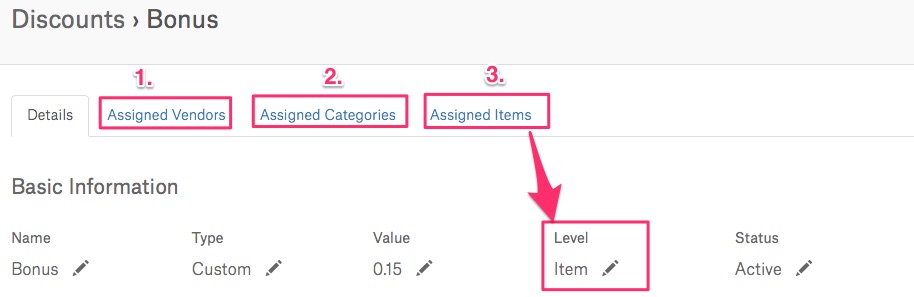
1. Here you need to assign your discount to a given Vendor (choose from the list of Vendors available)
2. If your items are grouped under separate categories – the assignment can be applied to a particular group.
3. When you decide that the discount is applied to one item only – click on Level – item and choose the right items.
And below, if custom fee enabled – the look on Activate

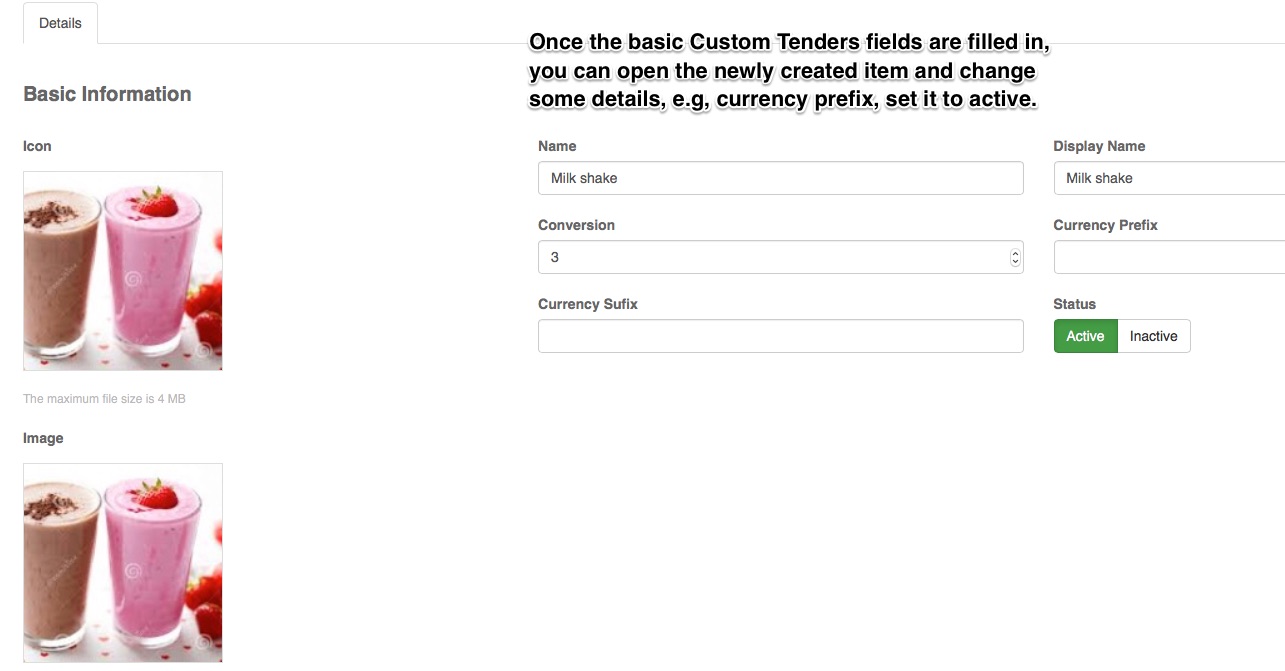
3. Custom Tender – that’s a new payment type allowing to pay with the new payment unit. So basically, custom tender will replicate the way that cash is tendered. First, it needs to be set from Connect. To reach it go to: Connect -> Options -> Custom Tender.
The ability to define cash-equivalent payment types with a conversion ratio. The conversion ratio will define how many dollars clients need to gain one unit. On Connect, Conversion rate needs to be set, so, e.g. conversion = 2, means $1 = 2 Payment Units.To reach it on Connect go to: Options > Custom Tender.
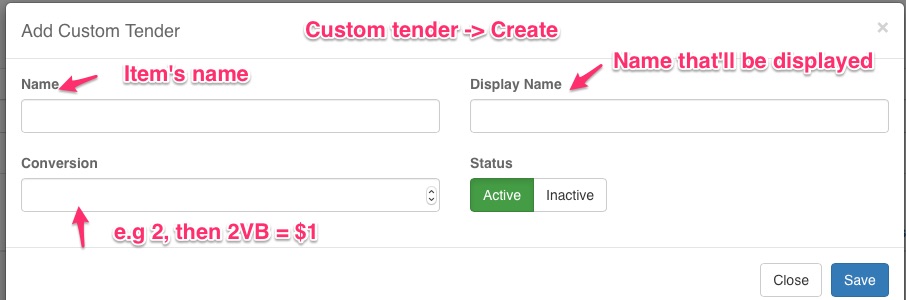
And then – see how Custom Tender might be edited
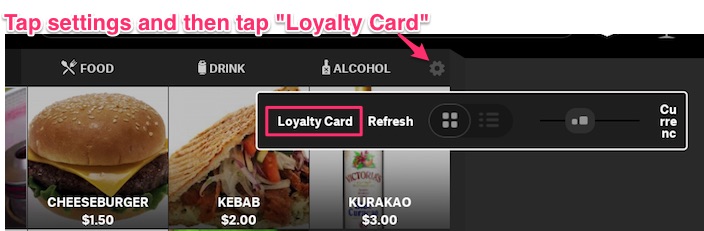
4.  Skidata payment introduced – it is a method allowing to pay for orders using a loyalty card. To put it simply, with this card, users can buy products that cannot be bought with money. What needs to be done to use Skidata as a payment method is, of course, to have Skidata Loyalty card, and to define the amount of Skidata points from Connect. So, e.g., we define that 2 Skidata pts = $1. Then, we buy 2 items, each $2. Activate does the math and as a result – user pays for the items 8 Skidata points that are subtracted from the loyalty card balance.
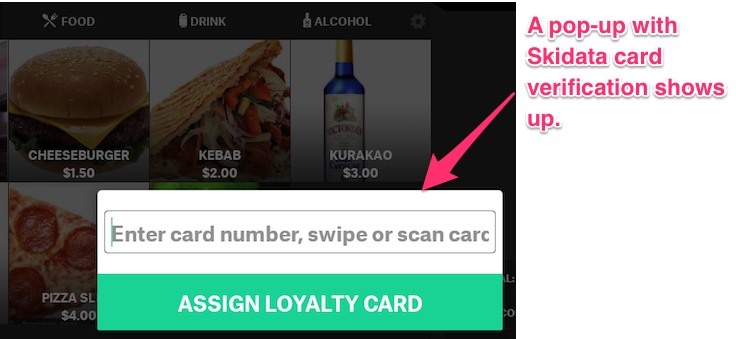
Ski data card needs to be added on Activate. How to do it? Have a look at the screen below:
Fixed
- Bugs & crash issues fixed.