New
- SKIDATA Direct Payment System
– paying with Skidata directly via mobile app
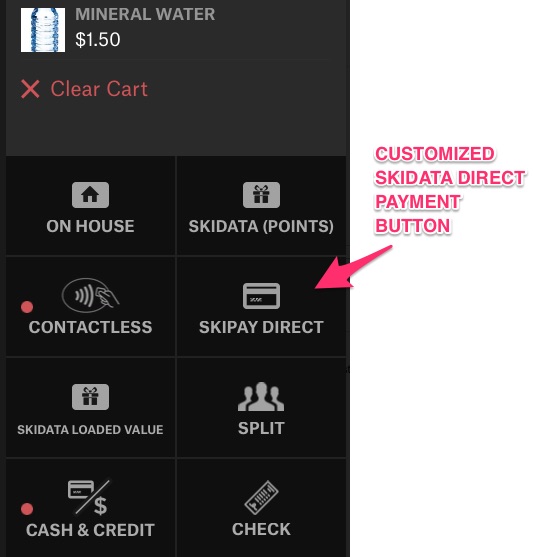
– finalize payment by tapping a customized button added to ActivateBasic flow:- cashier makes an order
– customer presents a QR code from the mobile app
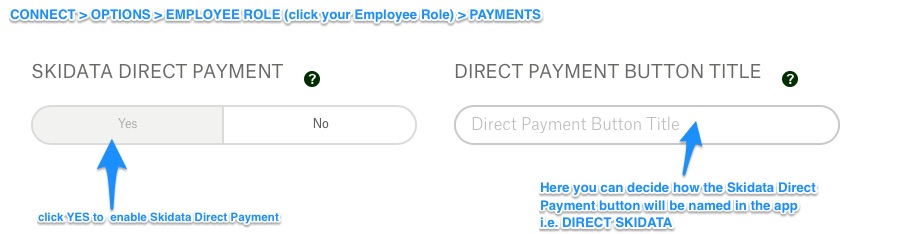
– cashier pushes the direct payment button configurable in Employee Role
– scanner is activated
– QR code is scanned (under the hood: a barcode is linked to a Skidata user who has a payment account set up)
– Skidata returns – approved / declined
* decline may occur when i.e. QR code / barcode expired
Example UI
“Activate Normal Mode”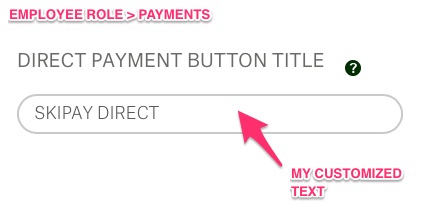
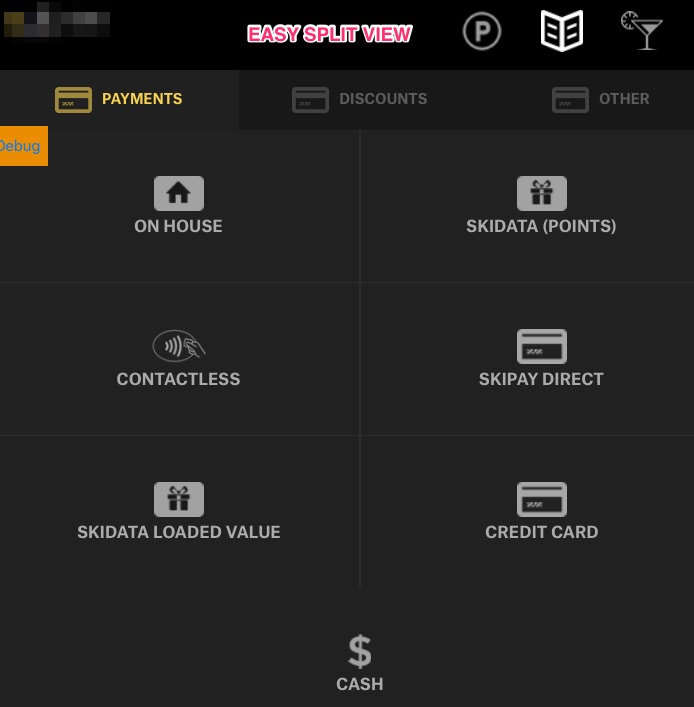
“Easy Split” mode
And then, pay with your card as usual (Scan/Swipe/Enter Manually) and confirm with the green CHECKOUT button.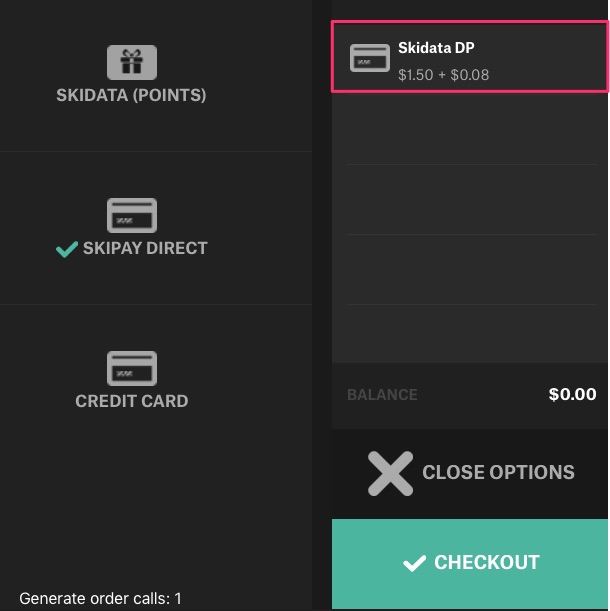 Note! Skidata Direct Payment method cannot be Refunded!
 Configuration:
a) database (For more info please refer to technical documentation here (https://appetize.atlassian.net/wiki/display/CON/Payments#Payments-SkidataDirectPayment)
b) Connect > Employee role – enable Skidata Direct Payment
 c) Connect Settings per Venue
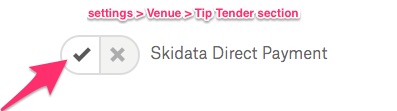
d) Then, the correct vendorID is sent via API calls to Skidata so that a given Vendor is ready to use it. -
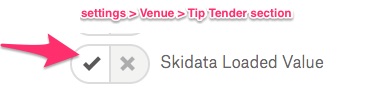
Skidata Loaded payment.
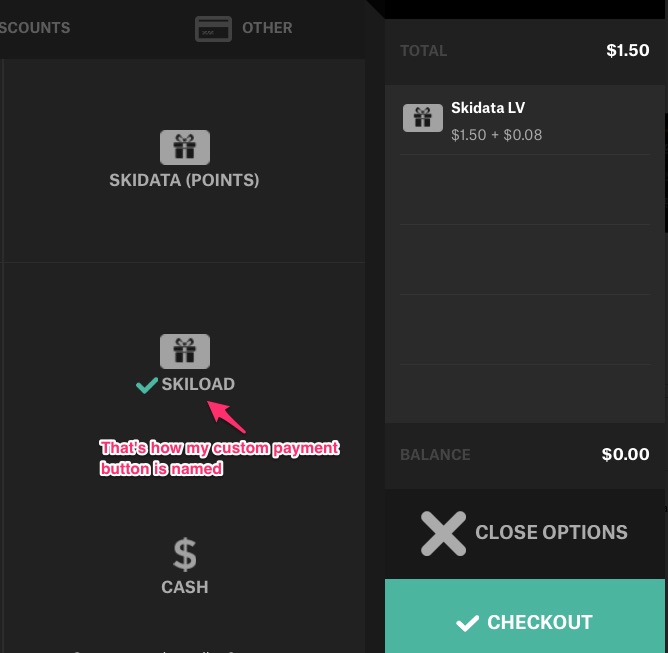
– paying with Skidata loaded value is available as a single button payment. With this type of Loaded payment, we use Skidata “fake” money that might have an expiry dateExample UI:
My Skidata Loaded value button is called “SkiLoad”
 Add some items to the cart and choose the Skidata Loaded payment
 And then, tap “Checkout”. You’ll be asked to Scan / swipe / type your Skidata card. Then, proceed as with a regular checkout.
Configuration:
a) Database – Skidata Loaded payment entry
To know technical requirements – reach out to Appetize team asking for technical documentationb) Connect > Employee role – enable Skidata Loaded Payment

c) Connect settings per Venue
d) Then, the correct vendorID is sent via API calls to Skidata so that a given Vendor is ready to use it. -
Skidata parking integration.
What’s that?
-> Integration that allows the customers to use parking premises with a Skidata QR code on their receipts
-> a QR code will be printed that will let the customers get out from parking or stadium
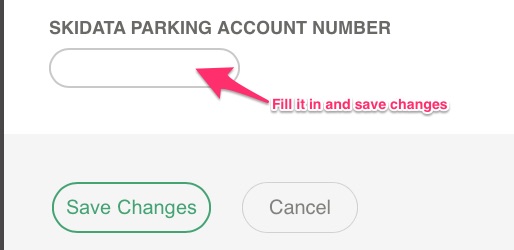
Connect configuration is needed:1 – Enter Skidata parking account number
Connect > Vendors > Choose and click your Vendor > Vendor Settings Tab
2 – Skidata parking integration page needs to be set
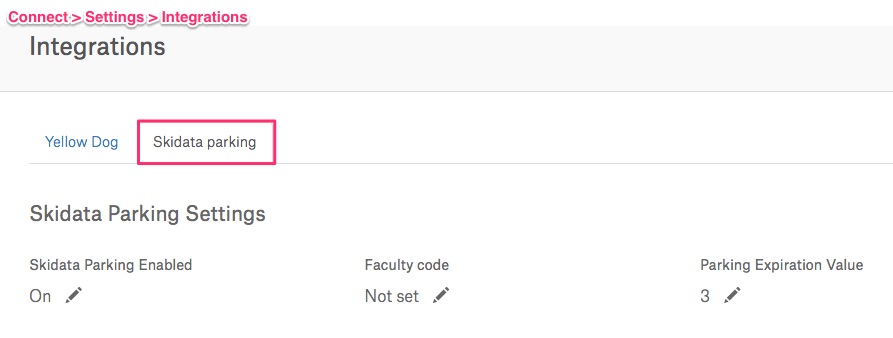 Skidata Parking = ON
Faculty code = that’s a number that corresponds to a given Skidata user
Parking Expiration Value = the number of hours after which Skidata parking QR code will expire (i.e. 3h)Usage – there are two scenarios for using Skidata Parking:
1st Scenario:
Customer that has a prepaid ticket (parking pass) goes to our Skidata supported parking. The ticket is scanned at the gate. If the scan is successful, they will get a newly printed Parking Leave Receipt (automatic printing depends on printing setup). That Receipt should contain QR code and current date time. Date time will be used for verification if QR won’t work. QR code will be valid for couple hours – after that period it won’t work. That new print will be triggered by button on successful parking pass scan page.And how it works in the app:
Step1
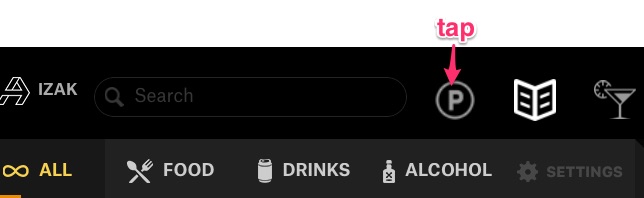 Step2
Step2

Step3 – QR code is printed automatically (if AutoPrint = ON). If not, tap the “Print QR Code” button on the right.

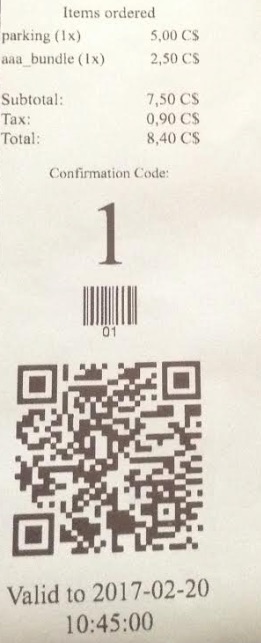
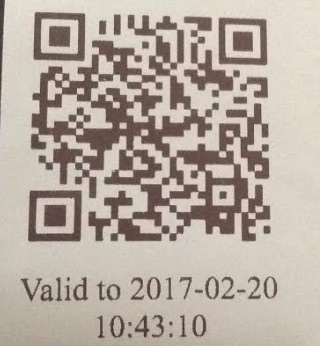
Step4 – QR code is printed. The only info it has is “Valid to” date + time
Note! In the above scenario no order has been made so it is not possible to go back to screen with a QR code from step3. In case you need a new QR code, the steps need to be repeated, or the old QR code that has been printed might be scanned again.2nd Scenario:
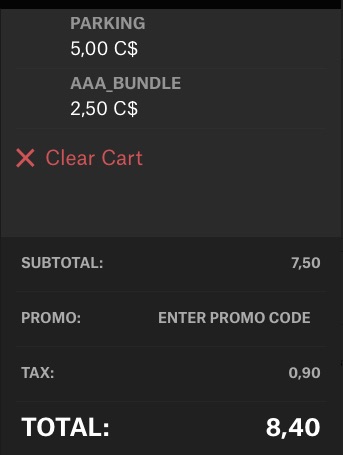
A client did not purchase parking pass in advance, so he/she needs to buy a parking item for i.e. $5. Customers that will buy ticket using Activate should have QR code located at the bottom of the receipt which allows them to leave the site
Step1 – Make a parking item order
 Step2 – Choose a tender type and finalize payment. Here – that’s a cash order
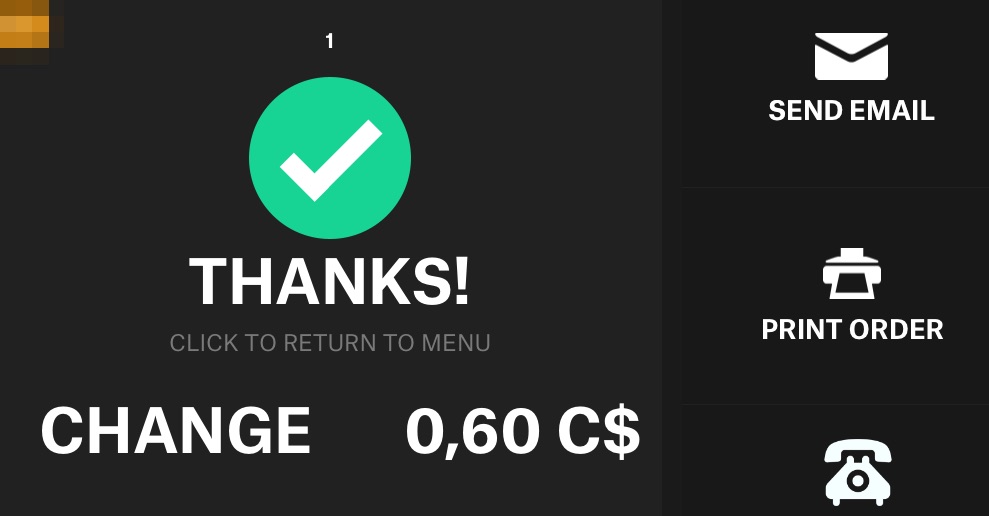 Step3 – Receipt with a QR code is printed automatically (if AutoPrint = ON). If not, tap “Print Order” button.