New
-
Adding Assignment Codes via Connect.
-> Assignment Codes are used to validate mobile devices and link them with assigned Venue(s). To validate a device, a special assignment code needs to be generated. The new functionality allows managers to create the codes is added to Connect > Settings > Venue
-> There’s a button showing Assignment Code – click “Generate Code”
-> The code needs to be passed over to Employees so that they type it in manually in the app

-> When code is generated it should appear in a code input (read-only). Code will disappear on page refresh - Inventory Items – assign Inventory items to Warehouse / Distributor by Category.
->now, inventory items can be added to distributors and warehouses by inventory category
-> the inventory setup process is faster
-> creating a new inventory item is, by default, assigned to the default warehouse (default assignments)STEP1: First, add inventory category
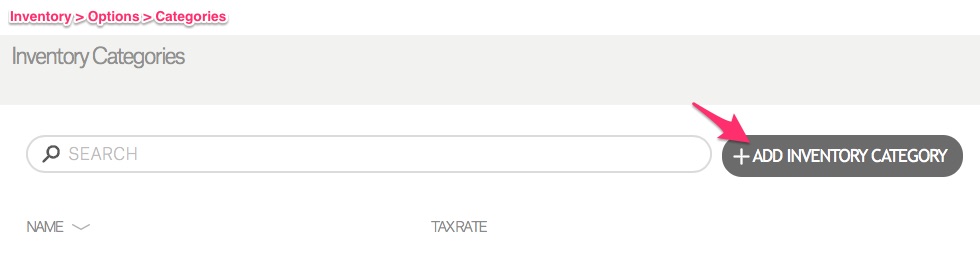
STEP2: Assign to Distributors by category:
1. Add Distributor
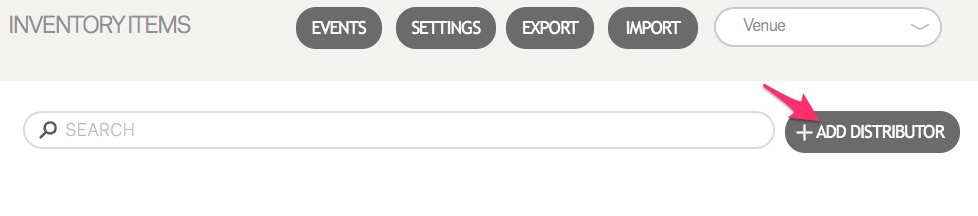 2. Add inventory categories
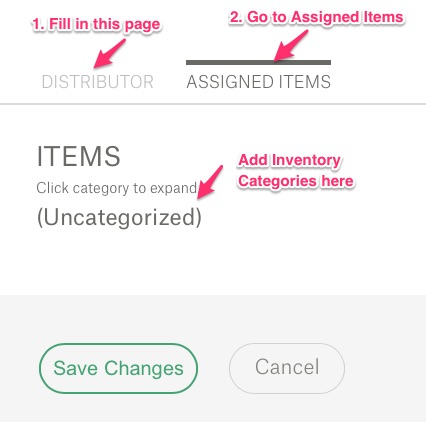
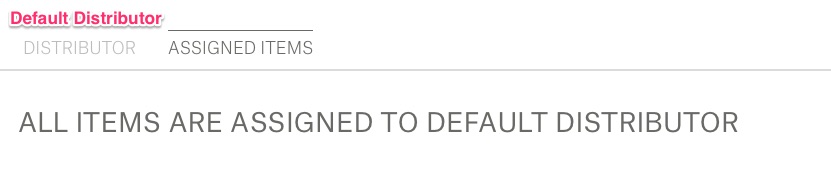
Note ! If there’s a Default Distributor – All Items are assigned to it by default.

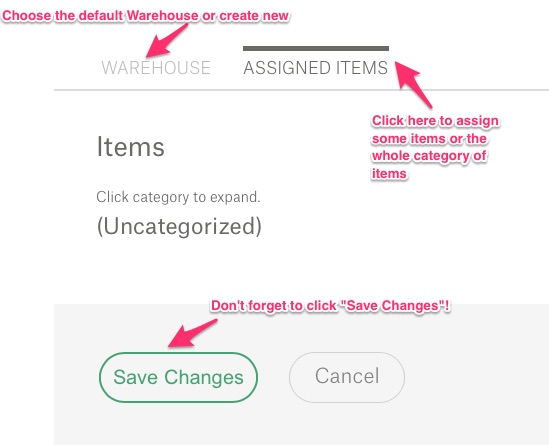
 STEP2.1: Assign to Warehouse by category
Similarly to assigning to Distributors, first you need inventory items category to be created.
Then go to Inventory > Setup > Choose Vendor > Warehouse
4. Paypal wristband support added.
-> In order to use this payment method, same rules apply as when setting up Braintree for credit card usage
-> Gateway credentials must be configured or in case of Sandbox, Braintree must be chosen. There are no further steps necessary
5. Connect > Inventory > True Up Count
-> True Up Count screen allows the user to enter in the quantities of any unit (Purchase/Inventory/Sales).
-> Then, the screen calculates the total quantity based on the conversion factors set up on the item.
-> The Purchase Unit, Inventory Unit and Sales Unit fields are editable. The Total (in Inventory Units) shows the sum.
Example:
Item = Wine Bottles
Purchase Unit = Case (CS)
Inventory Unit = Bottle (BTL), 12 BTL per CS
Sales Unit = Glass (GLS), 5 GLS per BTL
If conversions are missing, assume 1
User enters:
Purchase Unit = 17
Inventory Unit = 31
Sales Unit = 10
TOTAL (calculated) = (17*12) + 31 + (10/5) = 237
6. Preparation for strong password requirements.
7. Zendesk Integration.
Now, in case of any troubles, you can get straight to Zendesk support page via Connect.
Go to Connect > click Help > click Help blue button again 
and go to Zendesk.

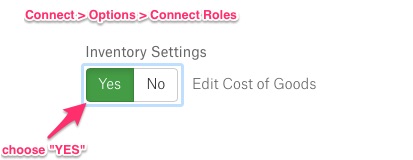
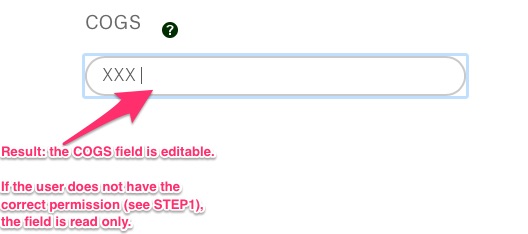
8. Ability to edit item COGS using Inventory Item Setup page.
STEP1: Enable flag on Connect Role
STEP2: Go to: Connect > Inventory > Setup > Add Item or Edit Item
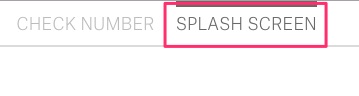
9. New option on Employee Role called “Splash Screen”.
This allows you to change the background color and welcome images on login screen (Activate).
STEP1: Connect > Options > Employee Role (+click an Employee Role)
STEP2: Go to “Splash Screen” tab
STEP3: Choose background color and select slides.
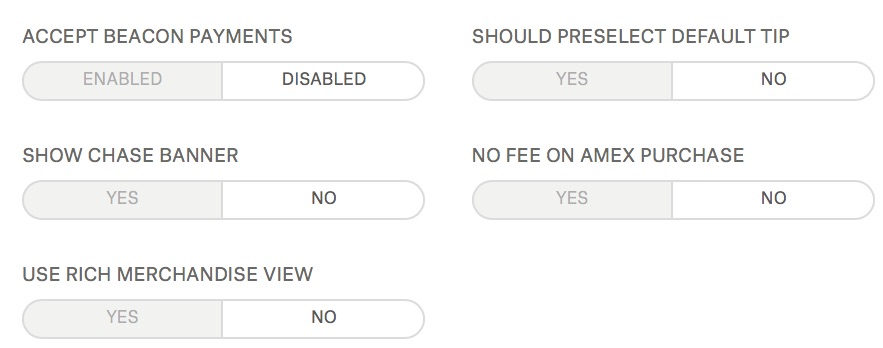
 9. New SDK configuration options added.
Connect > Settings > Mobile Ordering. There’re new fields related to ApplePay merchant name and ID. Additionally, some YES/NO flags added at the very end of Mobile Ordering page.
10. Calorie Information added to Items.
STEP1: Go to Connect > Items > (click an item)
STEP2: Click to set the Calories
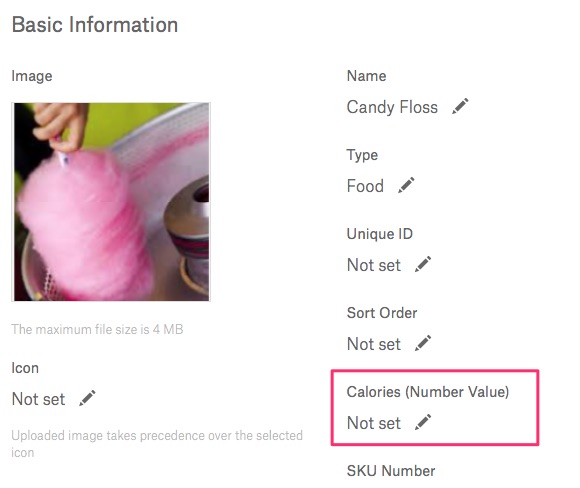 Note! The field is alphanumeric, maximum character = 20. Calories is not a required field for new or edited items. It can be left blank.
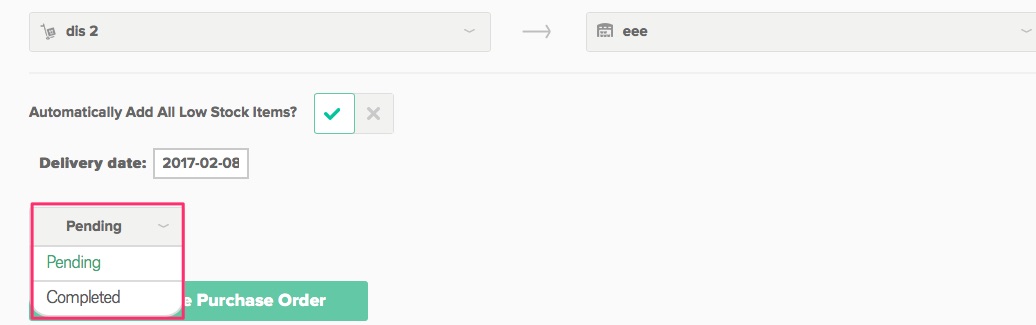
11. Connect > Inventory > Purchase Orders.
a) Now, you have the possibility to create a Completed Purchase Order.
 b) Additionally, when completing a delivered Purchase Order, the system forces user to provide a supplier Invoice number before the order can be completed for reporting purposes.
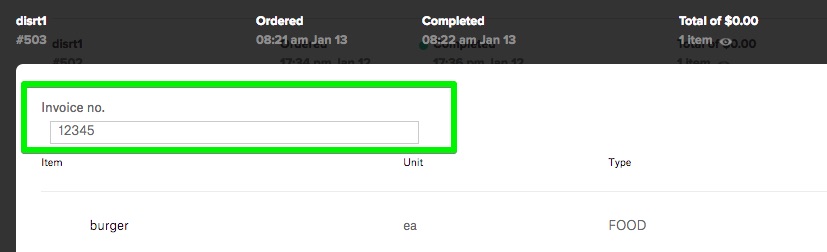 c) What’s more, when in Purchase Orders > New Purchase Order > Create Purchase Order – you can enter negative quantities on delivery.
Note: When a PO is created with an item with a negative quantity, the COGS of the item is not updated. Then, the item’s quantity can be updated on hand and reduced by the negative amount.
12. Custom Pickup Closed Message.
A new box on the Vendor in Connect that allows for the creation of a custom message for when Pickup is not allowed (via SDK). The situation may happen when:
a) Vendor is closed
b) there are not any more pickup times
To reach it go to Connect > Vendors > (select your Vendor)
c) Fill in the box 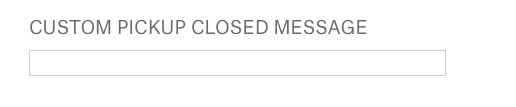
Changed
- Mobile Ordering Event – now editable by regular Connect accounts.
-> go to Connect > Settings > Mobile Ordering
-> scroll to Seat Geek ID, Event
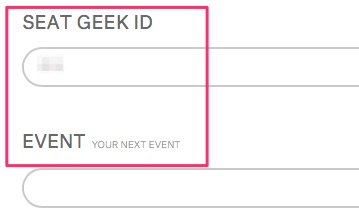
-> currently, those two fields are editable
-> EVENT field can be updated regardless of what Seat Geek ID is set to - Connect > Inventory > Order Product > Distributors
Now, the Distributor List is sorted in alphabetical order from the drop down list. - “Reopen” button on the StandSheet page for Cancelled Events.
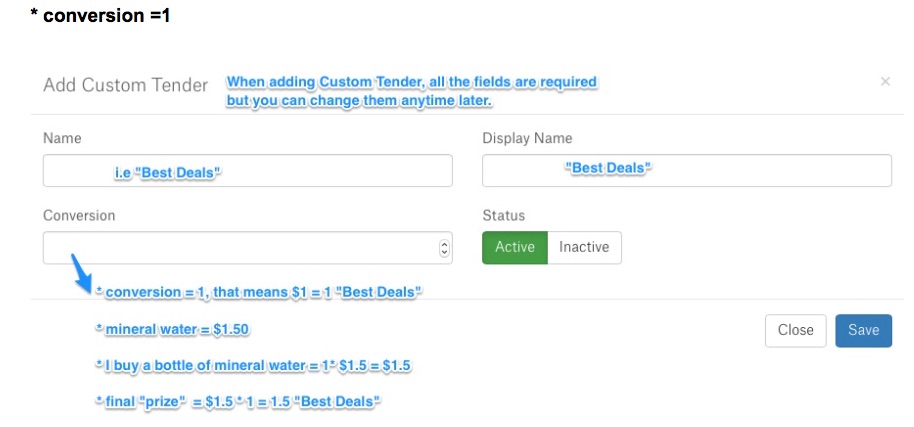
The button is not available for Canceled Events. The button would only be visible for admin accounts. - Custom Tender calculations improved. Now, it is working fine with decimals too.
See the below example:
Fixed
- Cash Room report totals.
- User Cash Room – issues with adds & drops.
- Cash Room values not populating in Cash Deposit Summary section report.
- Tip charges on Split Payment.
- Seatgeek syncing integration fixed.
- Stock request report – layout improvements.