New:
- Disable ability to Logout to PIN screen when items are in the cart.
- When user, who is logged in with Shared account adds some items to the cart and taps the “Logout” button located in upper-right corner, he will not be able to Log out of Activate until items are stored in cart
- Note! This would work only for Shared accounts
Fixed:
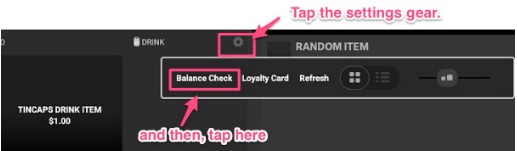
1. Issues with Loyalty Card button shown in Settings gear.
- Currently, when user taps the Settings Gear via Activate, he can see Loyalty Card textfield.
- When Loyalty Card is tapped, user sees a list of Loyalty Card types available for the account.
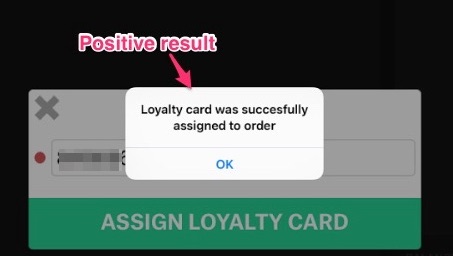
- After choosing the Loyalty Card, i.e “Skidata”, user needs to enter card number manually/ swipe/ or scan a card and confirm with “Assign Loyalty Card” button.
- When card number is validated successfully, user sees the alert “Loyalty card was successfully assigned to order”.
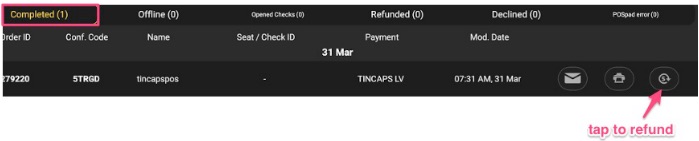
2. Closing Check Orders with no items in the cart.
If a Check Order is left with no items (for 0.00) you can close it.
- Open a check with some items (open with Name, or with Credit Card)
- Choose the open check and delete all items from the cart
- Your check order should show zero items
- Tap “Closeout Check”
- Close the check with CC or choose another payment method, i.e. cash
- The Check Order should move from “Waiting for Payment” to “Completed” and the previous alert “Please add items to continue” should not be shown
3. Respecting “Hide 0.00 Price Permission Set toggle”.
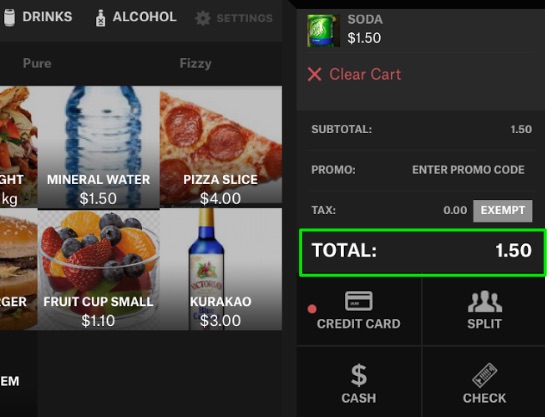
- Now, when “Hide 0.00 Price” permission = YES on Connect, Activate hides price of items that have 0.00 price set.
- So a customer instead of “Hot Dog $0.00” item should see “Hot Dog” item
Remember: To check whether this Permission Set is enabled, check Connect -> Options -> Permissions Sets -> Main View -> “Hide 0.00 Price”
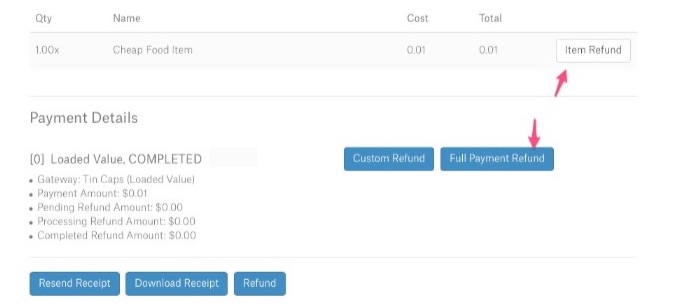
4. Item Level Discount – fixes.
- Add some items to the cart
- Tap “More” button
- Choose “Discount” menu
- Select item level discount
- If you tap the Discount more than once, it won’t be applied over and over again to the same item
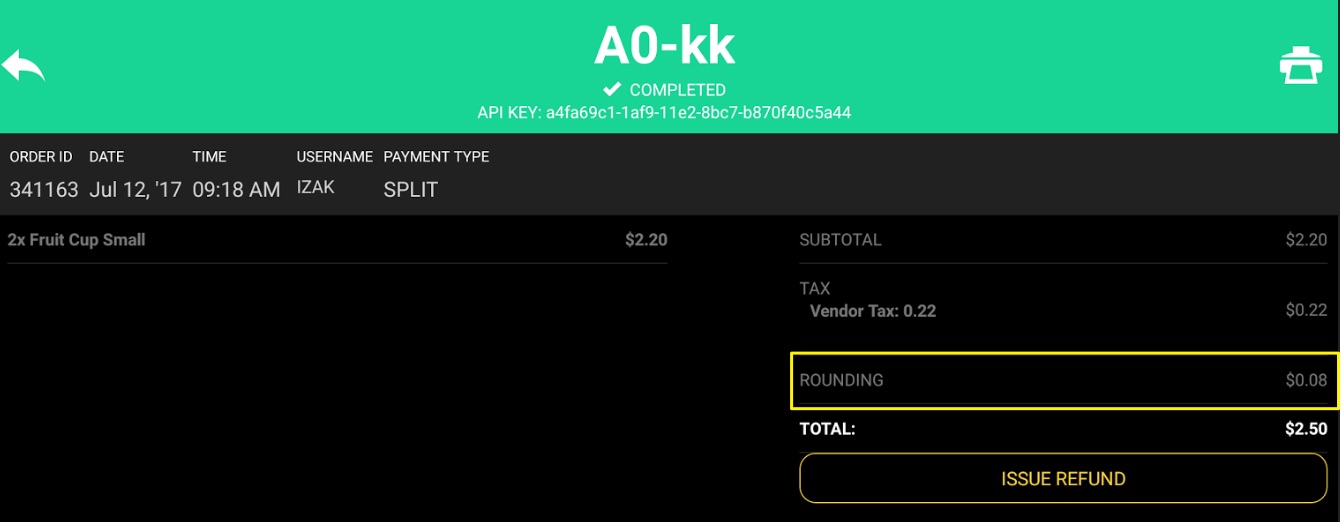
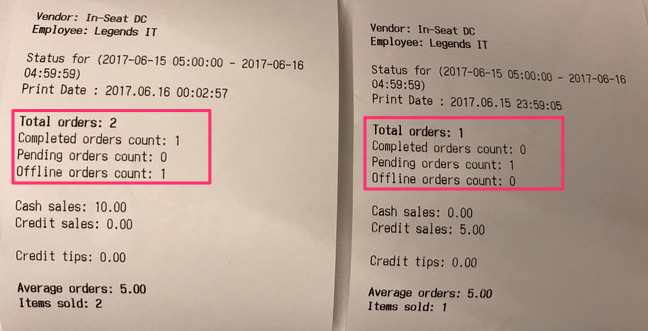
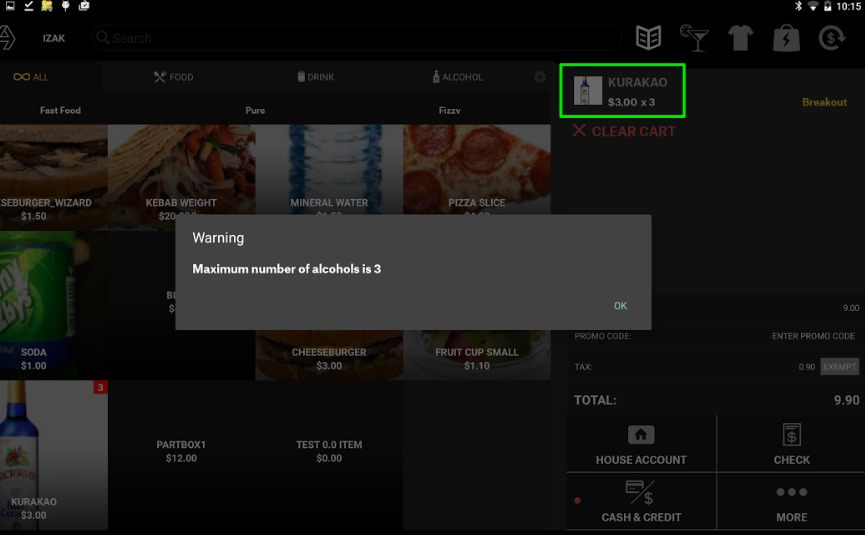
5. Custom Tender display on Activate and on receipts as cash.
- When Custom Tenders are used for Activate account, they will not be displayed on screen or printed as cash tender
- This means that the “$” sign used for Cash orders should never show up next to Custom Tender amount
6. Custom Tip – Number Pad is not displayed.
- Add some items to the cart
- Swipe a valid Credit Card
- When Tip choice appears, tap “Custom”
- A Number pad that allows user / cashier to enter the desired Tip Amount (different than suggested Tip) shows up
- When the correct Tip amount is entered, tap “Continue” to finalize the transaction
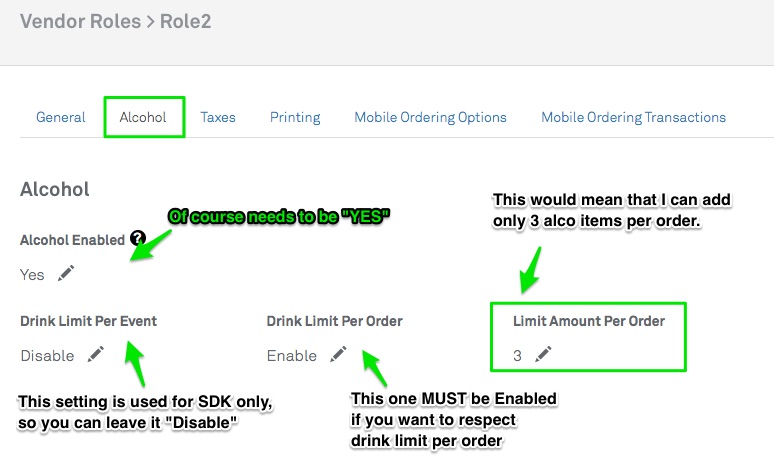
7. Issues with calculating Fee set via Employee Role.
We’ve experienced problems when Fee percentage value was set with decimals, i.e. 21.5%, as Activate was ignoring the decimal places
- Fee that is set for Activate Account via Connect -> Options -> Employee Role -> Fee/Tip/Tax Tab
- For Percentage Fee to work correctly, you need to select the Fee/Tip/Tax Tab and mark:
Convenience Fee toggle = YES
Fee Type = Percentage
Fee Amount = i.e. 21.5 - Currently, when such a Fee is assigned to the correct Employee Role, Activate respects the exact Fee Percentage and calculates the final amount (based on the price of items in the cart) correctly
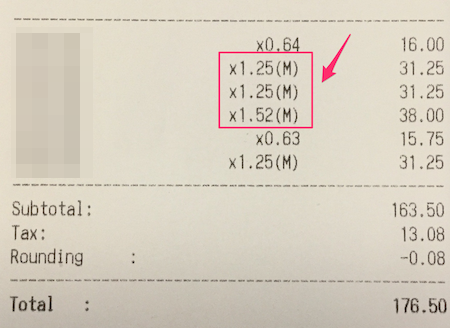
- Note! Fee amount may vary depending on Rounding settings.


 – Connect: SKIDATA is enabled for the Venue
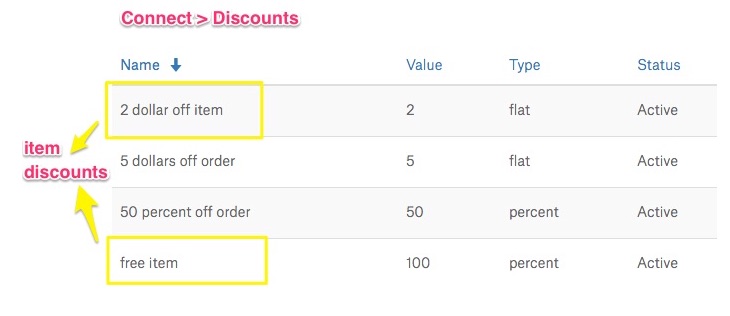
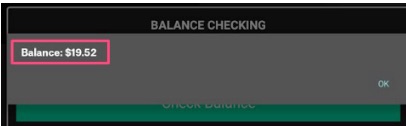
 Result:
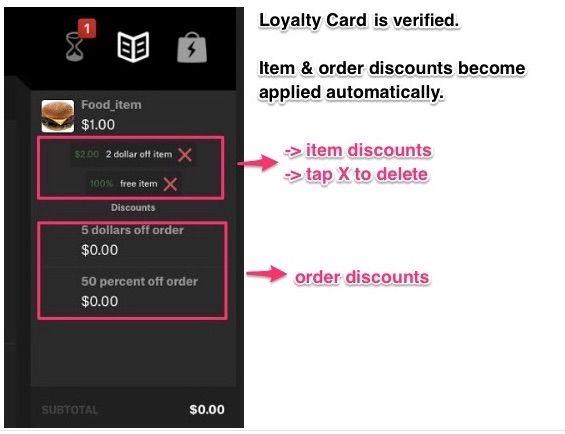

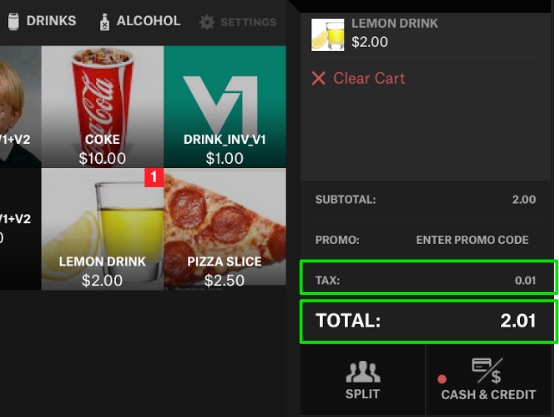
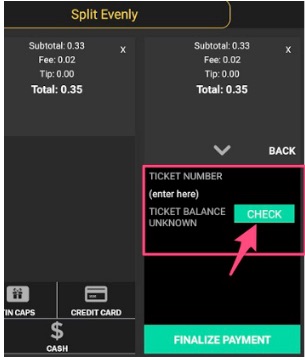
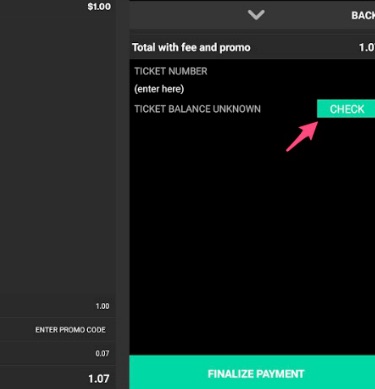
 Only then, the “Check” tender will be visible on Activate
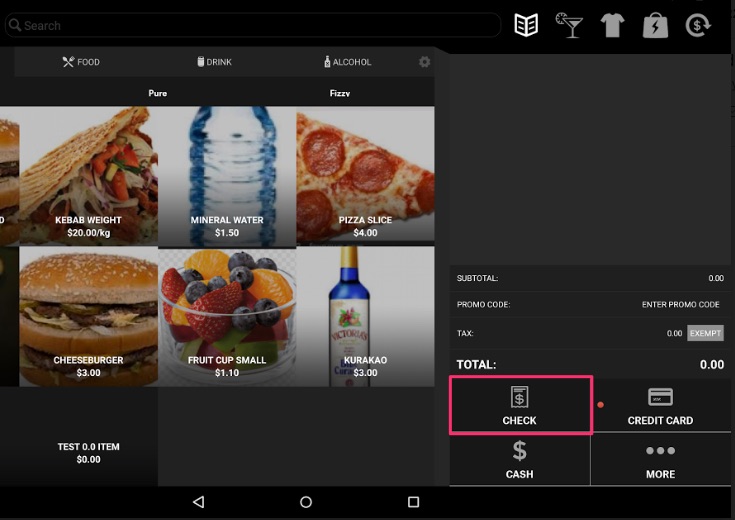 – then, when items are added to the cart tap “Check”
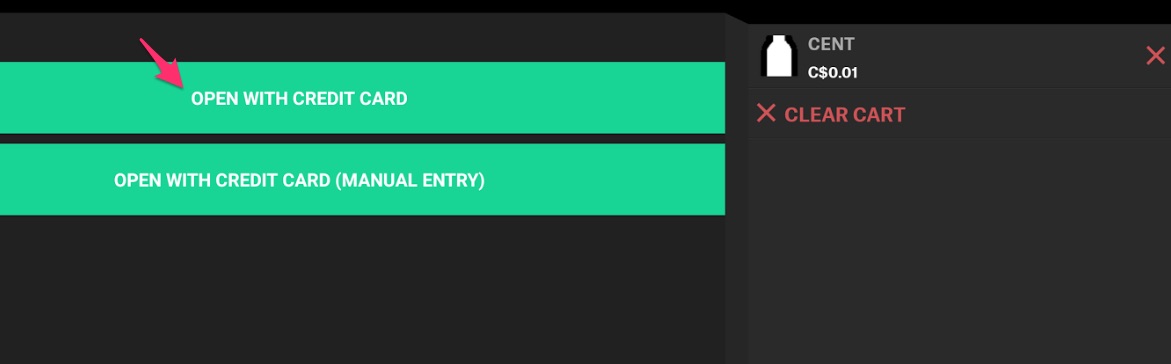

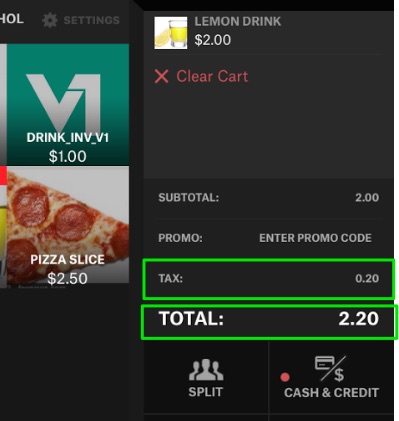
 -> you can see the precise Tax amount when order is completed on Connect / Reports
 -> Inclusive tax amount is also visible on Orders page in Connect
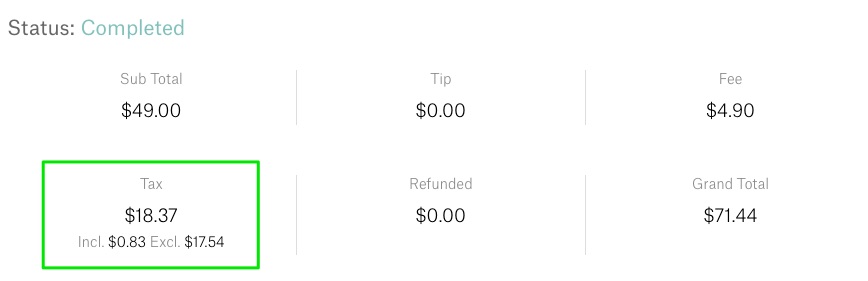


 How is it calculated?
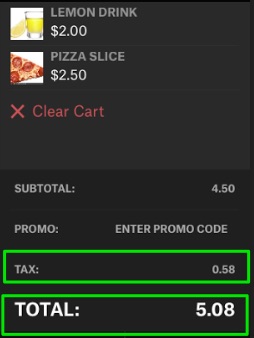
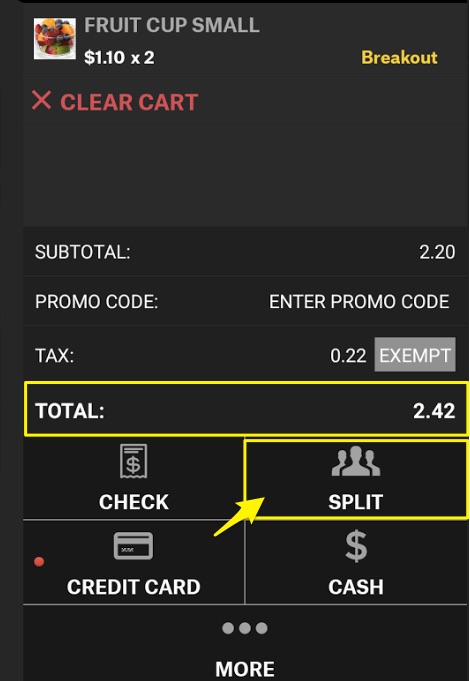
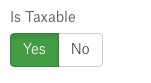 Say that you apply Discount (taxable = YES) to your item that has Tax per Item active. When applying discount via Activate, you’ll see that the final Tax per Item amount will be calculated from the price of an item after adding discount.
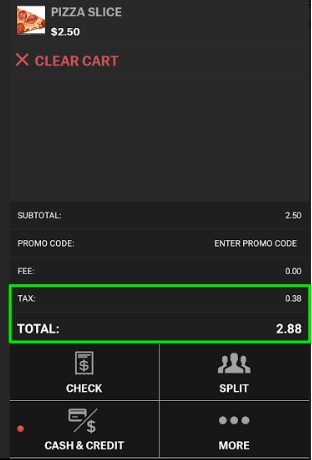 Step2 – I tap “More” button and go to Discounts. I decide to choose “Is Taxable 10%” discount. As you can see, the subtotal changes to $2.25 as discount is applied to item’s raw price (so that’s $2.50 * 10%).
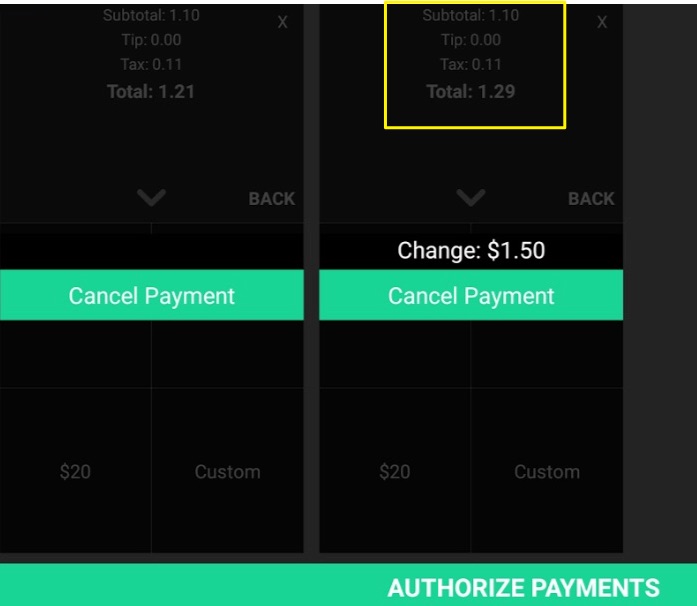
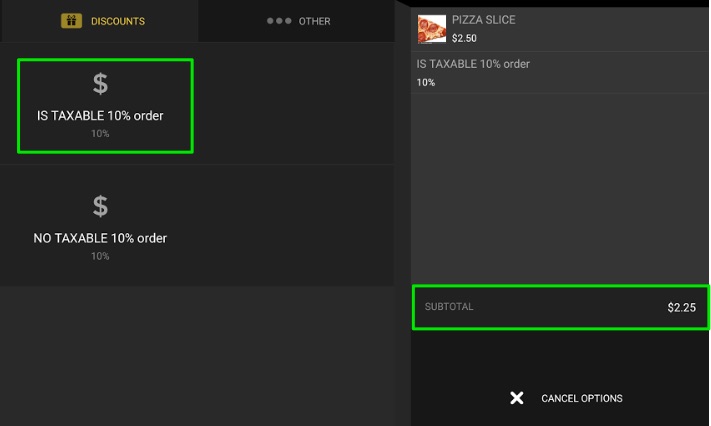 Step3 – I want to pay for my item, so I go to tab “Payments”. There you can see that item’s price has been updated. Tax per Item is being calculated once again.
 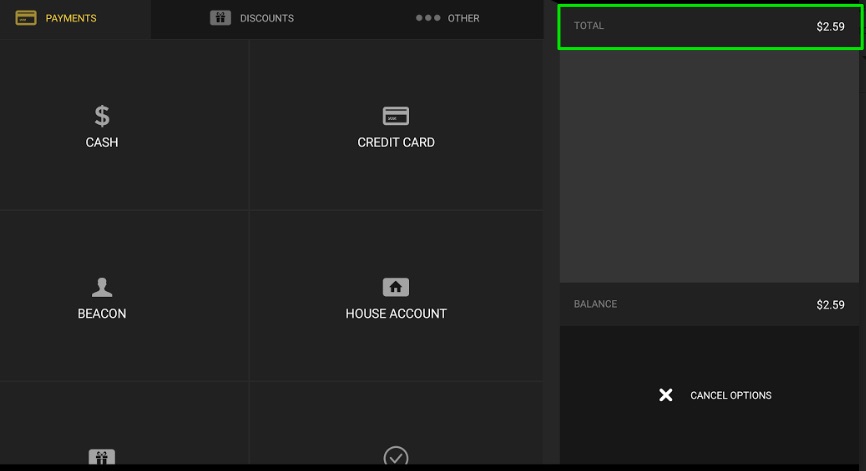 So, we’ve got our $2.50 item that costs $2.25 after discount.
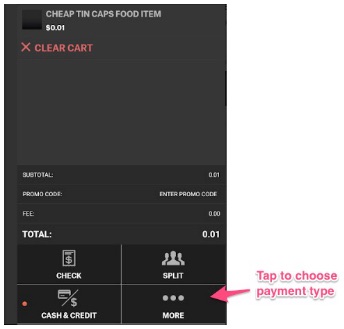
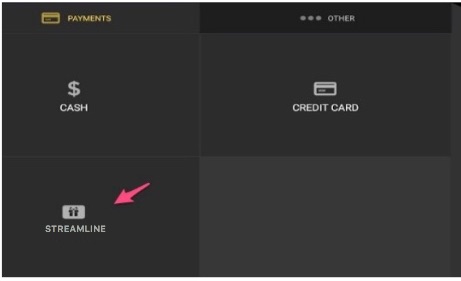

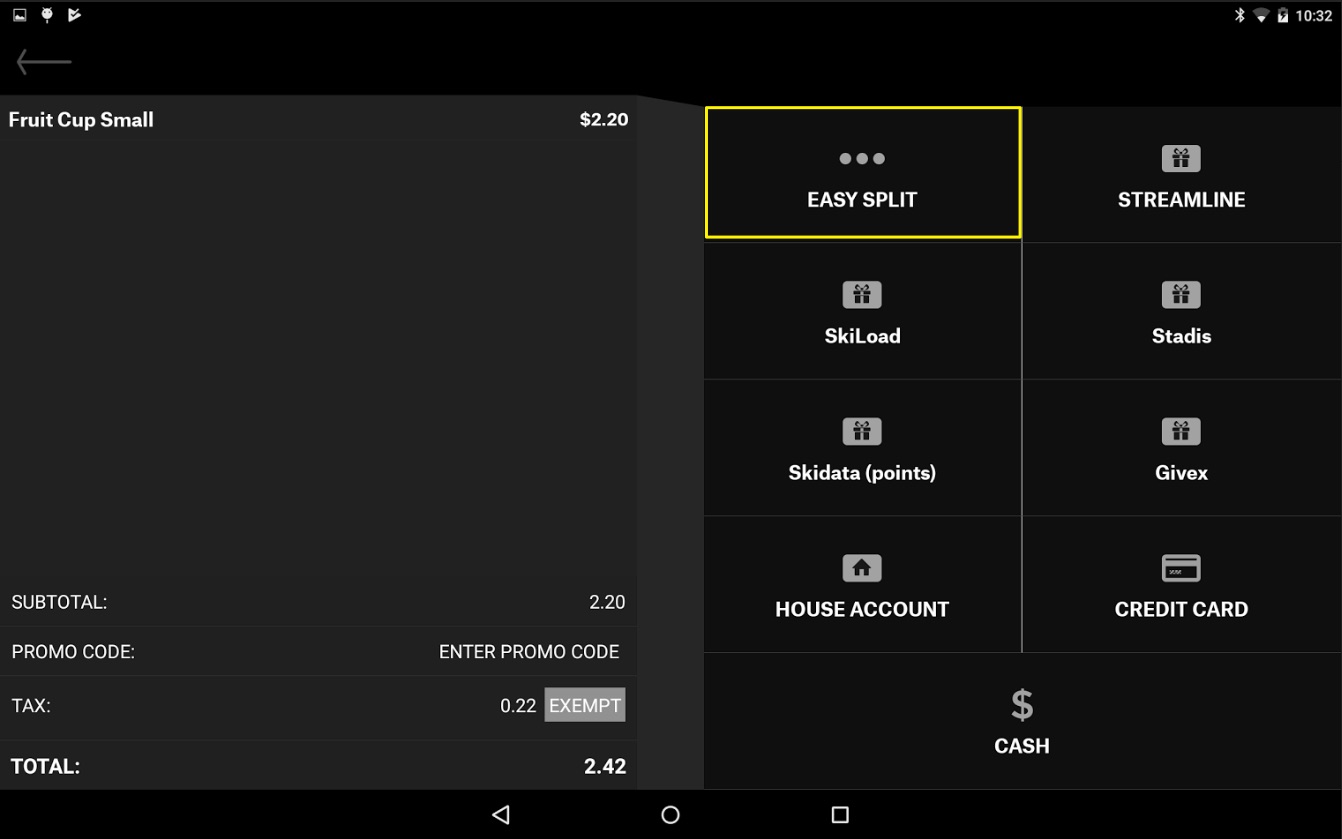
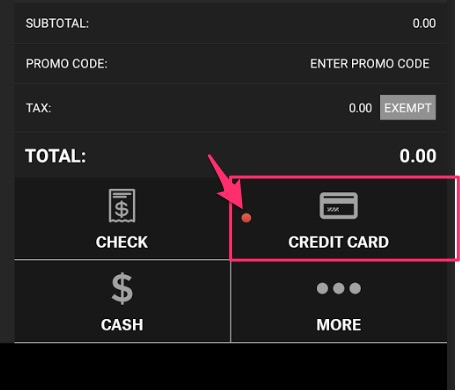
 – if there is more than one payment type active for the Venue (i.e. TinCaps and Givex) – Select Payment Method window appears.
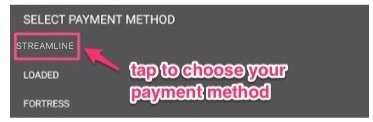
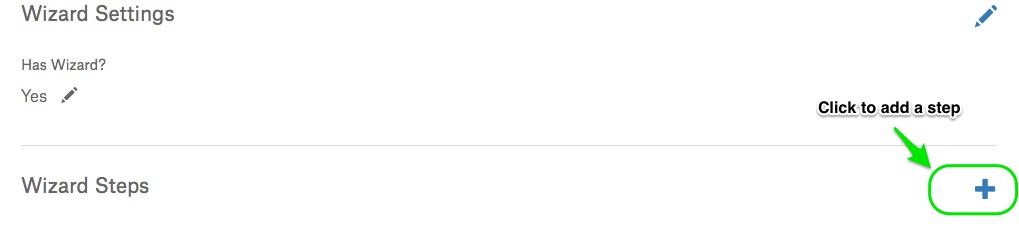
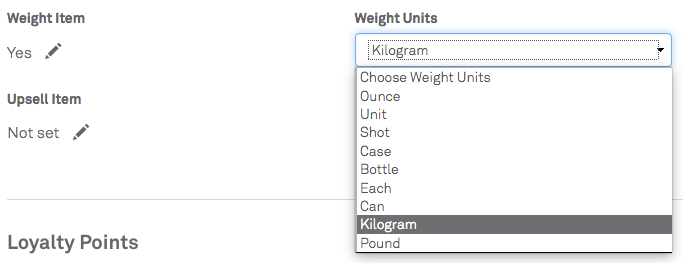
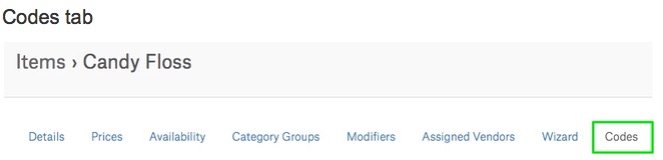
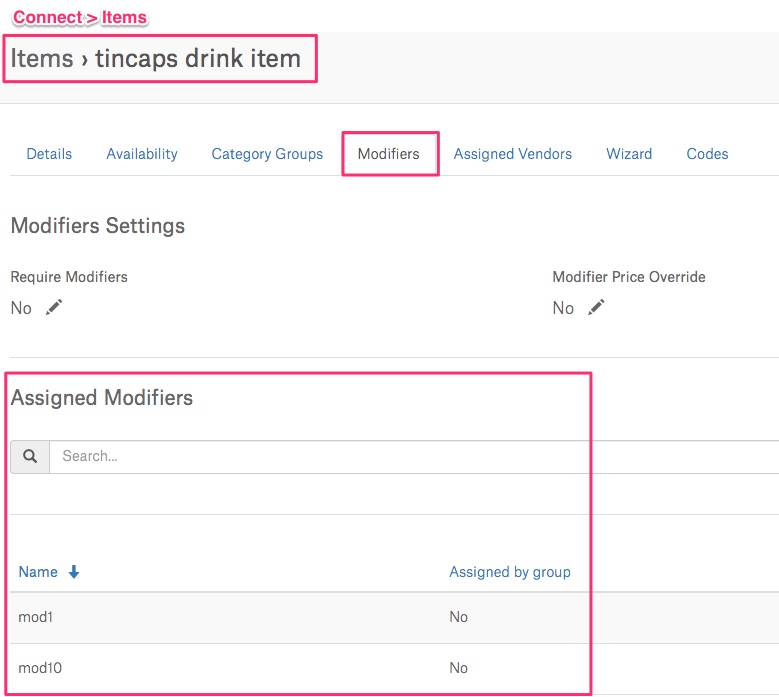 Wizard Item Configuration (Connect)